Building a Cedar Privacy Fence
A cedar privacy fence is mostly an exercise in getting the posts right. The boards are what people see, but the posts and footings decide whether the fence stays straight through freeze-and-thaw cycles. This guide walks through the sequence and the decisions that matter in Canadian conditions.
Before you dig
- Confirm the property line. A survey pin or a current survey plan avoids disputes later.
- Call the national locate service before excavating. In Canada this is done through Click Before You Dig, which coordinates utility locates.
- Check your municipal bylaws. Height limits and setback rules vary by city and sometimes by zone.
Footings and the frost line
The single most important detail in a cold-climate fence is footing depth. Footings should extend below the local frost line so that frozen, expanding soil does not lift the posts over winter. Frost depth varies widely across the country, so the correct number comes from your municipal building department rather than a national figure.
Post spacing and layout
Fence posts are commonly set on a regular spacing so that pre-cut rails and boards align cleanly. Closer spacing makes a stiffer fence and is worth considering on exposed, windy sites. Set corner and end posts first, run a string line between them, and space the intermediate posts to that line so the whole run stays true.
| Component | Common practice |
|---|---|
| Posts | Set plumb, footed below frost line, braced until set |
| Rails | Top and bottom rails minimum; a centre rail for taller fences |
| Boards | Fixed to rails with corrosion-resistant fasteners |
Board-on-board and leaving room to move
For full privacy without a flat, sealed look, a board-on-board layout overlaps boards so there is no see-through gap even after the wood shrinks. Cedar moves with humidity, so boards are fixed leaving a little room across their width. Butting wet boards tightly together is a frequent cause of cupping and popped fasteners once they dry.
Fasteners
Cedar's natural extractives can corrode ordinary steel and leave dark streaks. Use corrosion-resistant fasteners such as hot-dip galvanized or stainless steel, matched to the exposure. The fastener choice is small in cost but very visible if it bleeds rust down a clear cedar board.
Finishing the top
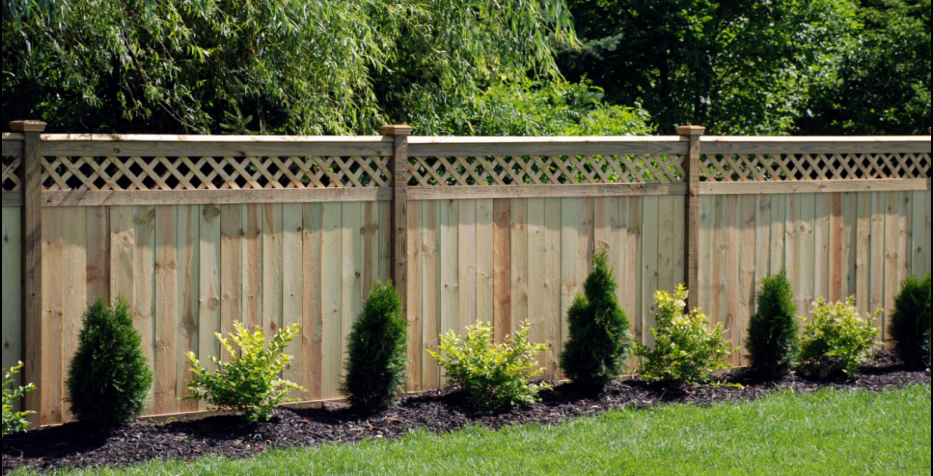
Capping the top of the boards or adding a top rail sheds water off the end grain, which is where boards absorb moisture fastest. A lattice topper, as in the photo above, adds height and keeps some airflow while still screening sightlines.
References
· Click Before You Dig — utility locates in Canada: clickbeforeyoudig.com
· Canadian Wood Council — building with wood: cwc.ca
· Western Red Cedar Lumber Association — fencing applications: realcedar.com